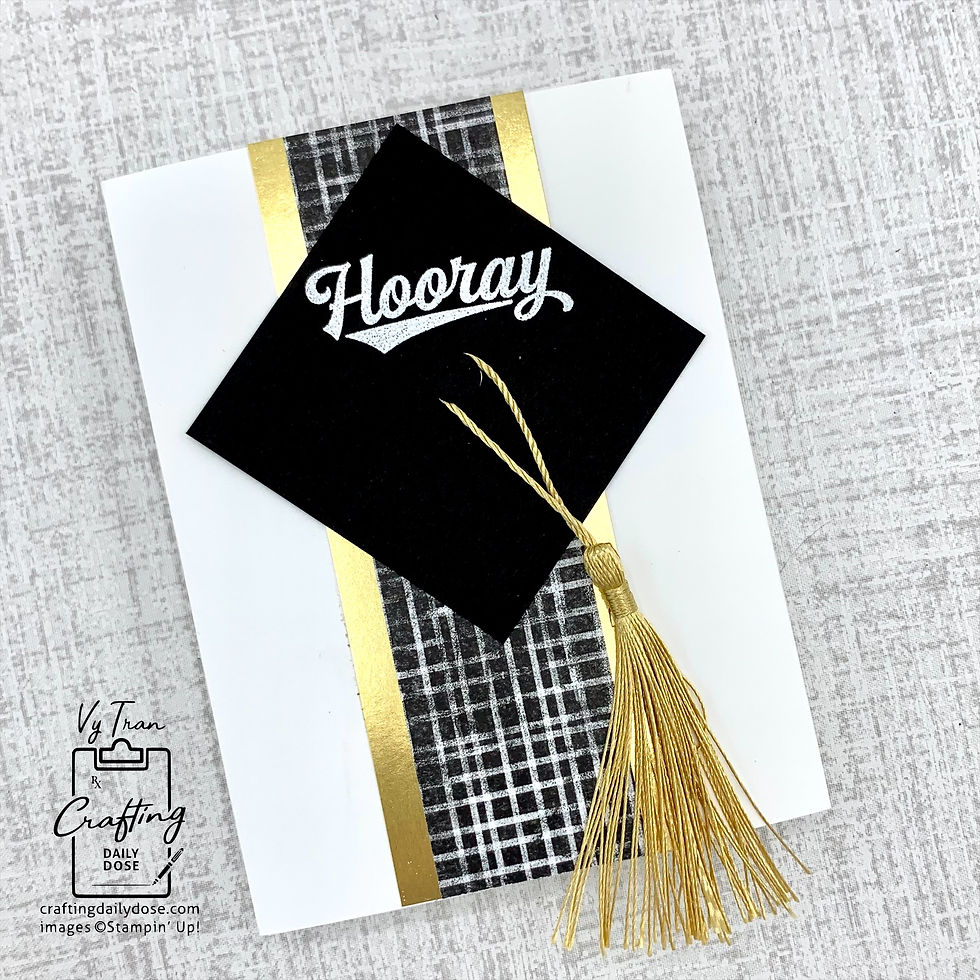
Con-grad-ulations
- Vy Tran

- May 16, 2022
- 2 min read
Updated: Jul 15, 2022
It‘s that time of year again! If you’re in need of a simple and easily customizable card, this one is quick to do. As always, the supply list can be found at the bottom of this post.

Measurements:
-Basic White Thick cardstock
8-1⁄2” (W) x 5-1/2” (H), scored at 2-7/8” and 7-1/8” along the long side
-Basic White cardstock (optional message panel for the inside of card)
4” (W) x 5-1/4” (H)
-Layer 1 (gold foil used here)
2” (W) x 5-1⁄2” (H)
-Layer 2 (Perfectly Penciled Designer Series Paper used here)
1-1/2” (W) x 5-1⁄2” (H)
-Basic Black cardstock
2-3⁄4” (W) x 2-3⁄4” (H)
The Basic White thick cardbase is folded into an asymmetric gatefold, with the edges of the card just meeting up on the front.
Adhere Layer 1 onto the left front of the card, allowing 1/4 to hang off the side. Here’s a look at it from the back (the gold foil has a white back, and you can see that there’s a 1/4” overhang).

Center Layer 2 over Layer 1 and adhere down.
To decorate the graduation cap, I heat-embossed the “Hooray” sentiment from the Your Biggest Fan stamp set onto the Basic Black piece. For the button on the cap, I used a mini Dimensional foam sticker to adhere a small circle from the Gumball Machine dies, but any other small circle will do. Another option is a large black brad from the Round & Square Brads pack. I attached the mini tassel (affiliate link) by looping it around the “button” a couple of times. A mini glue dot then holds the tassel in place off to the side a bit, so that it doesn’t just hang straight down.

I’ve used gold foil and the Perfectly Penciled Designer Series Paper for the layers, but you can use the school’s colors or your favorite papers here. The tassels are also available in many different colors.

As a finishing touch, adhere the message panel to the inside. It’s optional, but the weight of it helps to balance out the weight of the front of the card, and I think it’s a nice touch.
Shoppable Supply List:


Comments